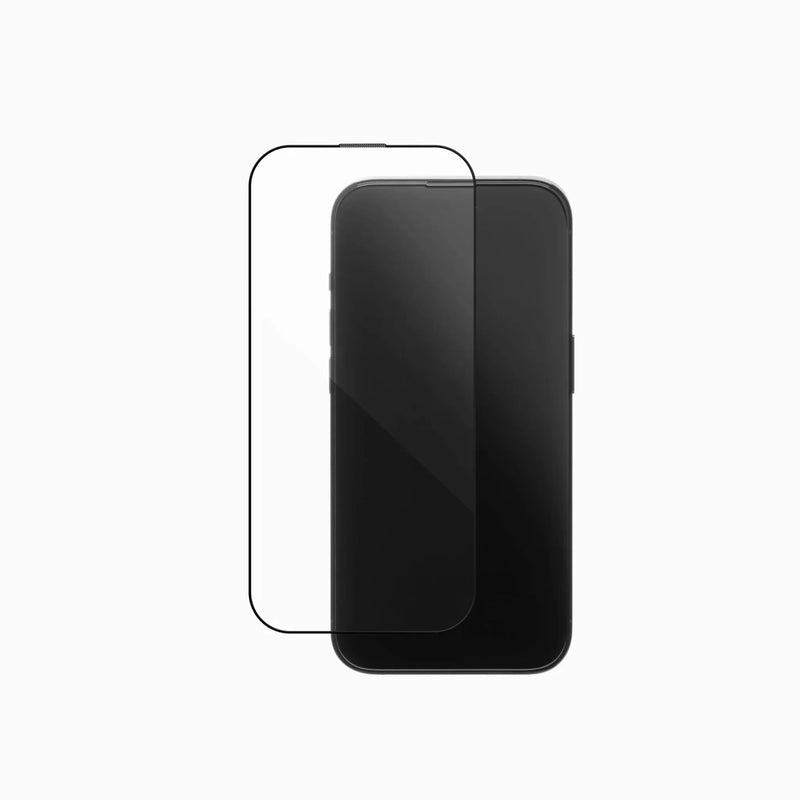

What's in the Box
- 1× Screen Protector (pre-attached to tray)
- 1× Installation Tray
- 1× Dust Remover
- 1× Wet Wipe
- 1× Microfiber Cloth
Step-by-Step Installation
-
01
Check the Tray
Make sure the screen protector is still attached to the tray. It may shift during shipping — press it gently back into place if needed.
-
02
Clean the Screen
Use the included wet wipe, dust remover, and microfiber cloth to clean your phone screen thoroughly before applying.
-
03
Align the Tray
Place the installation tray on your phone with the TOP side facing the top of your phone.
-
04
Pull the Tab
Firmly hold the tray and pull the plastic tab to remove the inner liner from the protector.
-
05
Let It Set
Wait about 20 seconds while the protector automatically bonds to your screen — no pushing needed.
-
06
Lift & Reveal
Hold both the tray and the release film at the top. Gently lift and peel them off together.
Tips for Best Results
- Install in a dust-free environment — a steamy bathroom works great.
- Let the protector settle on its own — no pressing needed during bonding.
- Small bubbles? They usually disappear in 1–2 days. Or gently push them out with your fingers or the microfiber cloth.
